参考文章:使用 Github Pages 和 Hexo 搭建自己的独立博客(https://blog.csdn.net/qq_36759224/article/details/82121420)
Github+jsDelivr+PicGo打造稳定快速、高效免费图床(https://blog.csdn.net/qq_36759224/article/details/98058240)
hexo常用命令笔记(https://segmentfault.com/a/1190000002632530)
Hexo 博客优化之实用功能添加系列(https://itrhx.blog.csdn.net/article/details/85010191)
安装node.js, Git
安装Hexo
- 安装 hexo
- 安装 hexo 部署到 git page 的 deployer
1
2
3
mkdir Blog
npm install hexo-cli -g
npm install hexo-deployer-git --save
Hexo初始化设置
- Hexo 安装完成后,将会在指定文件夹中新建所需要的文件
1
2
mkdir hexo
hexo init
- Hexo 安装完成后,将会在指定文件夹中新建所需要的文件
本地查看效果
- http://localhost:4000/
1
2
hexo generate #g
hexo server #s
- http://localhost:4000/
博客部署到Github上
- 创建 New repository
- 配置 SSH密钥,在Blog文件夹下
- Github网站配置SSH密钥
- 配置Hexo的_config.yml文件
1
2
3
4
5
6
7
8
9
10
ssh-keygen -t rsa -C "wangtianpeng1994@hotmail.com"
ssh -T git@github.com
git config --global user.name "wang-tianpeng"
git config --global user.email "wangtianpeng1994@hotmail.com"
deploy:
type: git
repository: https://github.com/wang-tianpeng/wang-tianpeng.github.io
branch: master
Hexo文件夹下启动转移至Github
1
2
hexo g
hexo d在
\hexo\source\_posts文件夹下书写markdown文档1
2
3
4
5
6
7
8
9
10
11
12
13
14hexo n "文章标题"
---
layout: 页面布局(配合主题文档使用)
title: 文章名称
date: 文章日期
comments: 文章是否开启评论
photos: 文章封面图(仅部分主题支持)
tags:
- 文章标签一
- 文章标签二
categories: 文章分类
description: 文章描述,即要在首页显示的摘要,而非全文显示。(仅部分主题支持)
---配置Hexo的主题
- 找到各种主题的Github页面
- 在theme文件夹下 git clone
- 在主文件夹下配置_config.yml文件
- 主文件夹下 hexo g s d
- 各种主题:https://hexo.io/themes/
- 最终在挑选之后选择了
Yelee主题1
2
3
4
5
6
7
8git clone https://github.com/theme-next/hexo-theme-next
theme: hexo-theme-next
hexo g
hexo s
hexo clean ## 清楚缓存
hexo g -d
添加页面访问统计
- 在
themes/你的主题/layout/_partial/footer.ejs文件下添加以下代码即可 - 参考网站:不蒜子统计(http://ibruce.info/2015/04/04/busuanzi/)
1
2
<script async src="//busuanzi.ibruce.info/busuanzi/2.3/busuanzi.pure.mini.js">
</script>
- 在
- 配置网络图床
- 参考Github+jsDelivr+PicGo
- Github创建新仓库reporitory
- Setting中设置新的token (注意不要关闭)repo项打勾
- 下载PicGO
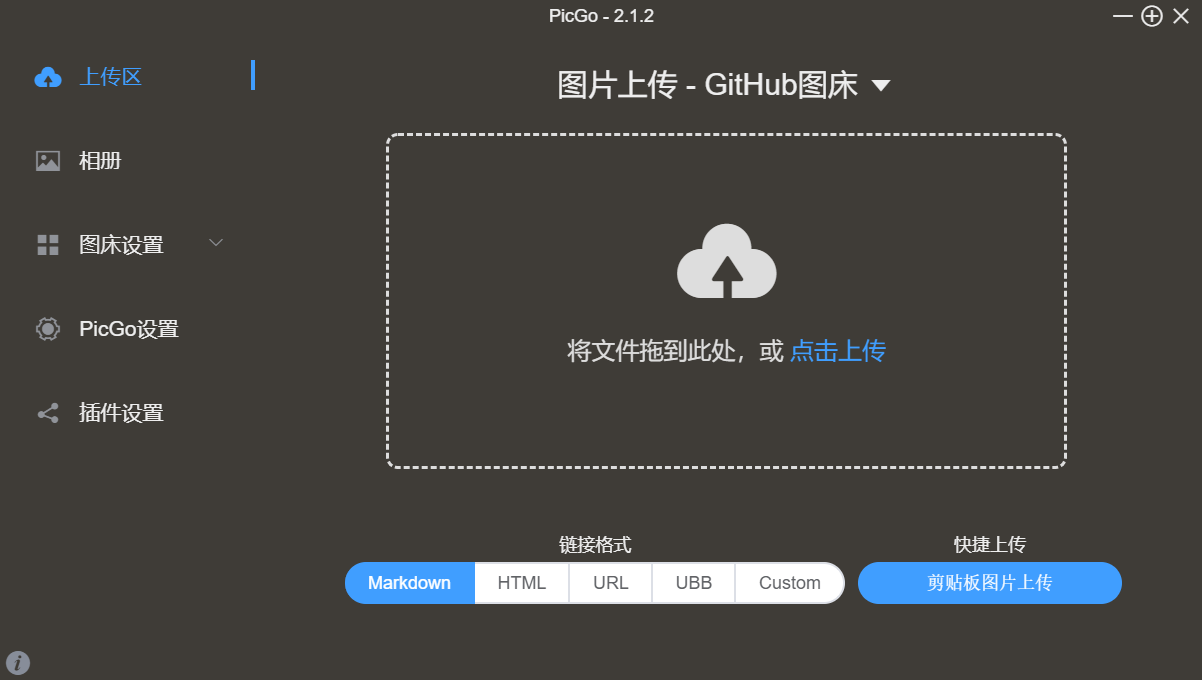
- 配置成功后界面如下,可设置快捷键,截图+快捷键 自动操作。速度效率都十分不错,以后不再操心图床的问题。
